Particles.js on Squarespace
There is a plethora of amazing effects that anyone familiar with CSS and/or Javascript can implement on a customized website. However, because the HTML is already written for you when you’re building with Squarespace, it can be difficult to add custom effects using a combination of HTML, CSS and Javascript, but it can actually be quite easy.
What is Particles.js?
Particles.js is a lightweight Javascript library that allows for cool particle background effects. See a live example here.
Particles.js can be customized in a variety of ways.
In this article, I’ll step you through the process of adding this effect to a Squarespace website.
1. Create Your Particles
Visit particles.js and use the panel on the right-hand side to customize your particle effect.
There are a few presets that you can choose from as a starting point:
Default
NASA
Bubble
Snow
Nyan Cat
Choose one that’s close to what you want to achieve as an end result, then customize from there.
Be careful not to make the effect too insensitive, not everyone has a computer from this millenium. I’ve accidentally added an extra zero to one of the customization values in the past and created a particle array that completely locked up my top end Macbook Pro.
Drop down each of the menus, and move the sliders to your heart’s content. The web app will give you a live preview of the effect based on your settings.
2. Get the Code
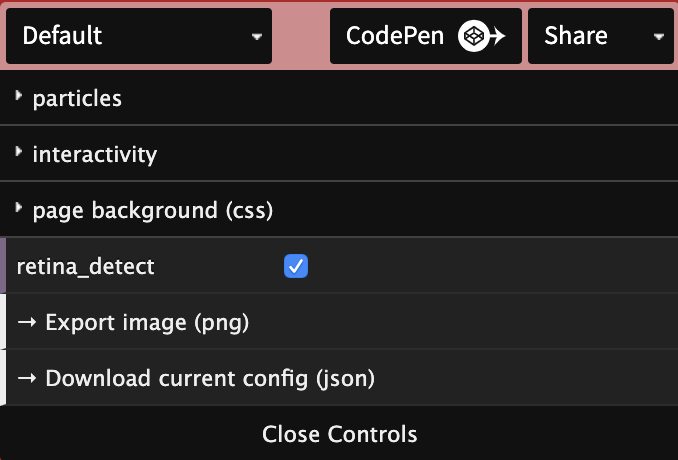
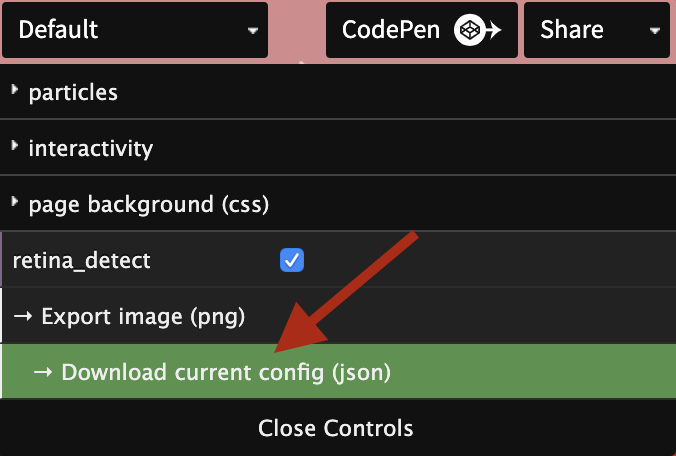
When you’re satisfied with your settings, click '‘Download current config (JSON)”.
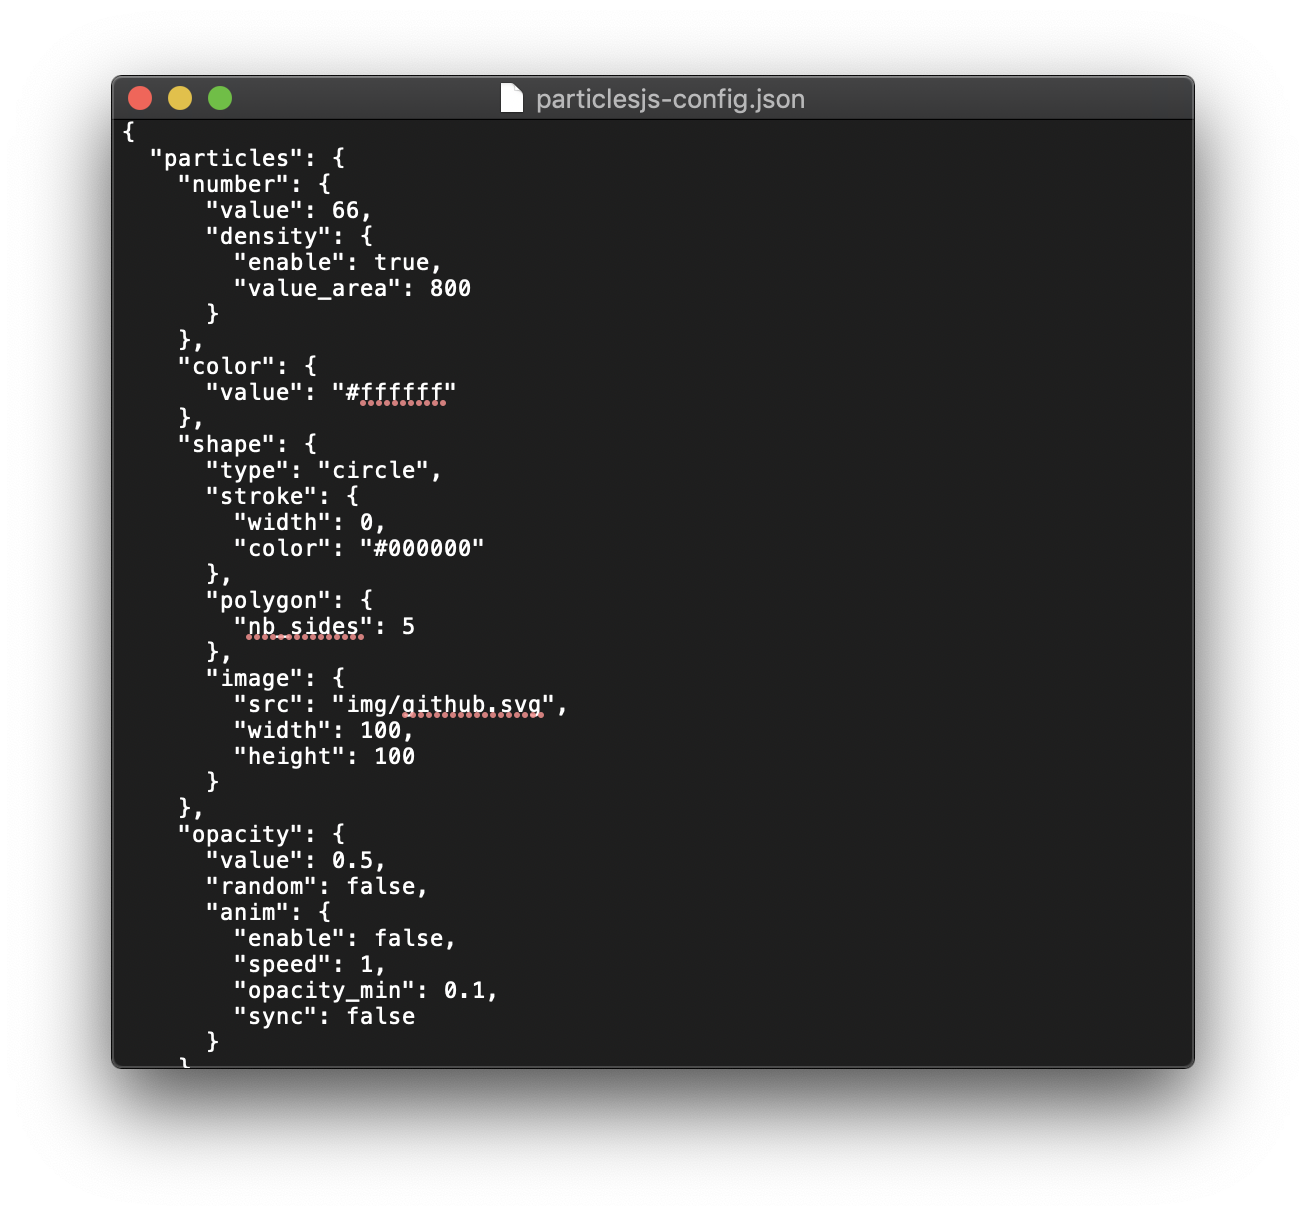
This will download a .json file that you can open with any text editing app or word processor.
The json code will look something like this:
3. Add the Effect to An Index Banner
You’ll need some extra code to target the right index section and make the particle effect fill the whole section.
Start by pasting the following code into the header code injection area of the index:
<script src="https://cdn.jsdelivr.net/npm/particles.js@2.0.0/particles.min.js"></script>

<script>
  document.addEventListener('DOMContentLoaded', function() {
    particlesJS("url-slug", particlesJSConfig);
    setTimeout(function() { window.dispatchEvent(new Event('resize')); }, 100);
  });
</script>

<style>
  .particles-js-canvas-el {
    position: absolute;
    top:0;
    left: 0;
    width: 100%;
    height: 100%;
    z-index: 1;
  }
</style>
Below the code above, paste the following code:
<script>
  var particlesJSConfig =

PASTE YOUR CUSTOM CODE HERE

</script>
Copy the code from the .json file you download in step 2 and paste it in place of “PASTE YOUR CUSTOM CODE HERE”.
The complete code should look something like this (your code will be slightly different based on the options you chose for your particle effect):
<script src="https://cdn.jsdelivr.net/npm/particles.js@2.0.0/particles.min.js"></script>
<script>
  document.addEventListener('DOMContentLoaded', function() {
    particlesJS("url-slug", particlesJSConfig);
    setTimeout(function() { window.dispatchEvent(new Event('resize')); }, 100);
  });
</script>
<style>
  .particles-js-canvas-el {
    position: absolute;
    top:0;
    left: 0;
    width: 100%;
    height: 100%;
    z-index: 1;
  }
</style>

<script>
  var particlesJSConfig =
      {
        "particles": {
          "number": {
            "value": 250,
            "density": {
              "enable": false,
              "value_area": 800
            }
          },
          "color": {
            "value": "#5b86e5"
          },
          "shape": {
            "type": "edge",
            "stroke": {
              "width": 0,
              "color": "#000"
            },
            "polygon": {
              "nb_sides": 6
            },
            "image": {
              "src": "img/github.svg",
              "width": 100,
              "height": 100
            }
          },
          "opacity": {
            "value": 1,
            "random": true,
            "anim": {
              "enable": true,
              "speed": 0.5,
              "opacity_min": 0.1,
              "sync": false
            }
          },
          "size": {
            "value": 1,
            "random": true,
            "anim": {
              "enable": true,
              "speed": 10,
              "size_min": 50,
              "sync": false
            }
          },
          "line_linked": {
            "enable": false,
            "distance": 200,
            "color": "#ffffff",
            "opacity": 1,
            "width": 2
          },
          "move": {
            "enable": true,
            "speed": 0.75,
            "direction": "top-left",
            "random": true,
            "straight": false,
            "out_mode": "out",
            "bounce": false,
            "attract": {
              "enable": false,
              "rotateX": 1250,
              "rotateY": 2600
            }
          }
        },
        "interactivity": {
          "detect_on": "window",
          "events": {
            "onhover": {
              "enable": true,
              "mode": "bubble"
            },
            "onclick": {
              "enable": false,
              "mode": "push"
            },
            "resize": true
          },
          "modes": {
            "grab": {
              "distance": 300,
              "line_linked": {
                "opacity": 1
              }
            },
            "bubble": {
              "distance": 200,
              "size": 1,
              "duration": 2,
              "opacity": 3,
              "speed": 2
            },
            "repulse": {
              "distance": 50,
              "duration": 0.4
            },
            "push": {
              "particles_nb": 4
            },
            "remove": {
              "particles_nb": 2
            }
          }
        },
        "retina_detect": true
      }
</script>
Show me what you’ve come up with by leaving a link in the comments below.
Happy coding.






![How to Change Images on Hover in Squarespace [Simple Guide]](https://images.squarespace-cdn.com/content/v1/671a6d15050267628d1bfe3a/1729955141069-JY8TZ37717WLM0T405BZ/Minimist+Web+Design+-+Squarespace+Designer+and+Developer+-+Change+Fluid+Engine+Images+on+Hover.png)